Run a Balance Test in ForceDecks iOS App
This guide covers how to run a balance test in the ForceDecks iOS App. If testing with ForceDecks for the first time, refer to Testing with ForceDecks.
Step 1 - Test Setup
- Go to Test
- Ensure the ForceDecks plates are turned on, and you are located near the plates to ensure a strong Bluetooth connection. (If required, refer to Bluetooth Connection Guide.)
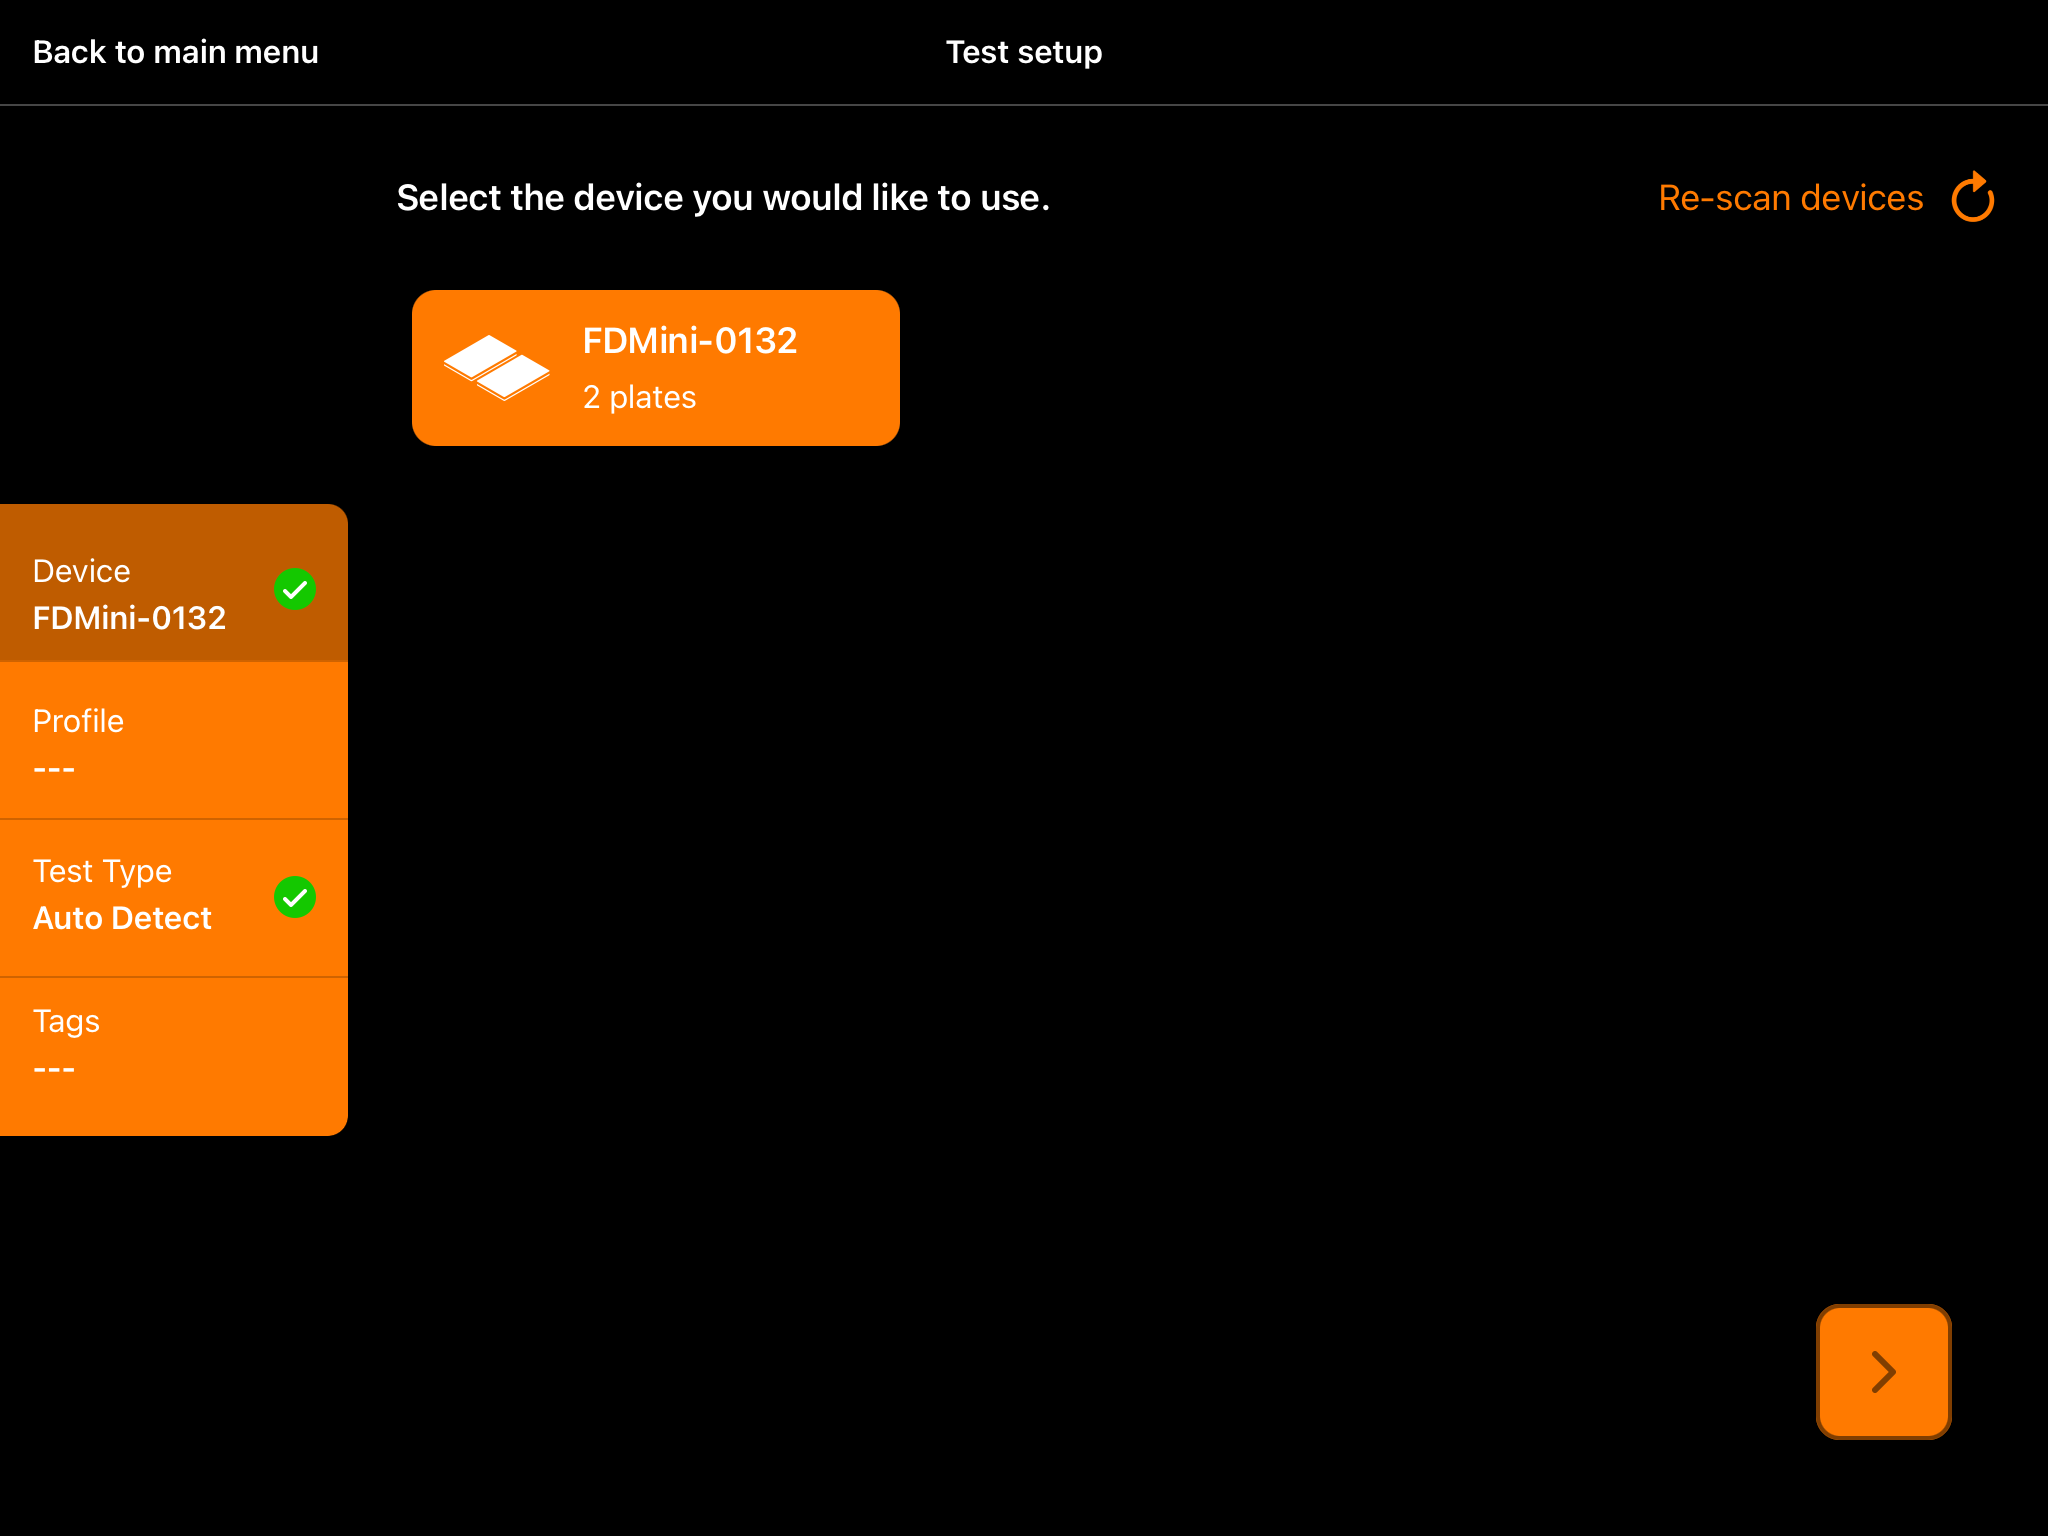
- Select your ForceDecks plates.
- Go to Profile
- Select a Profile
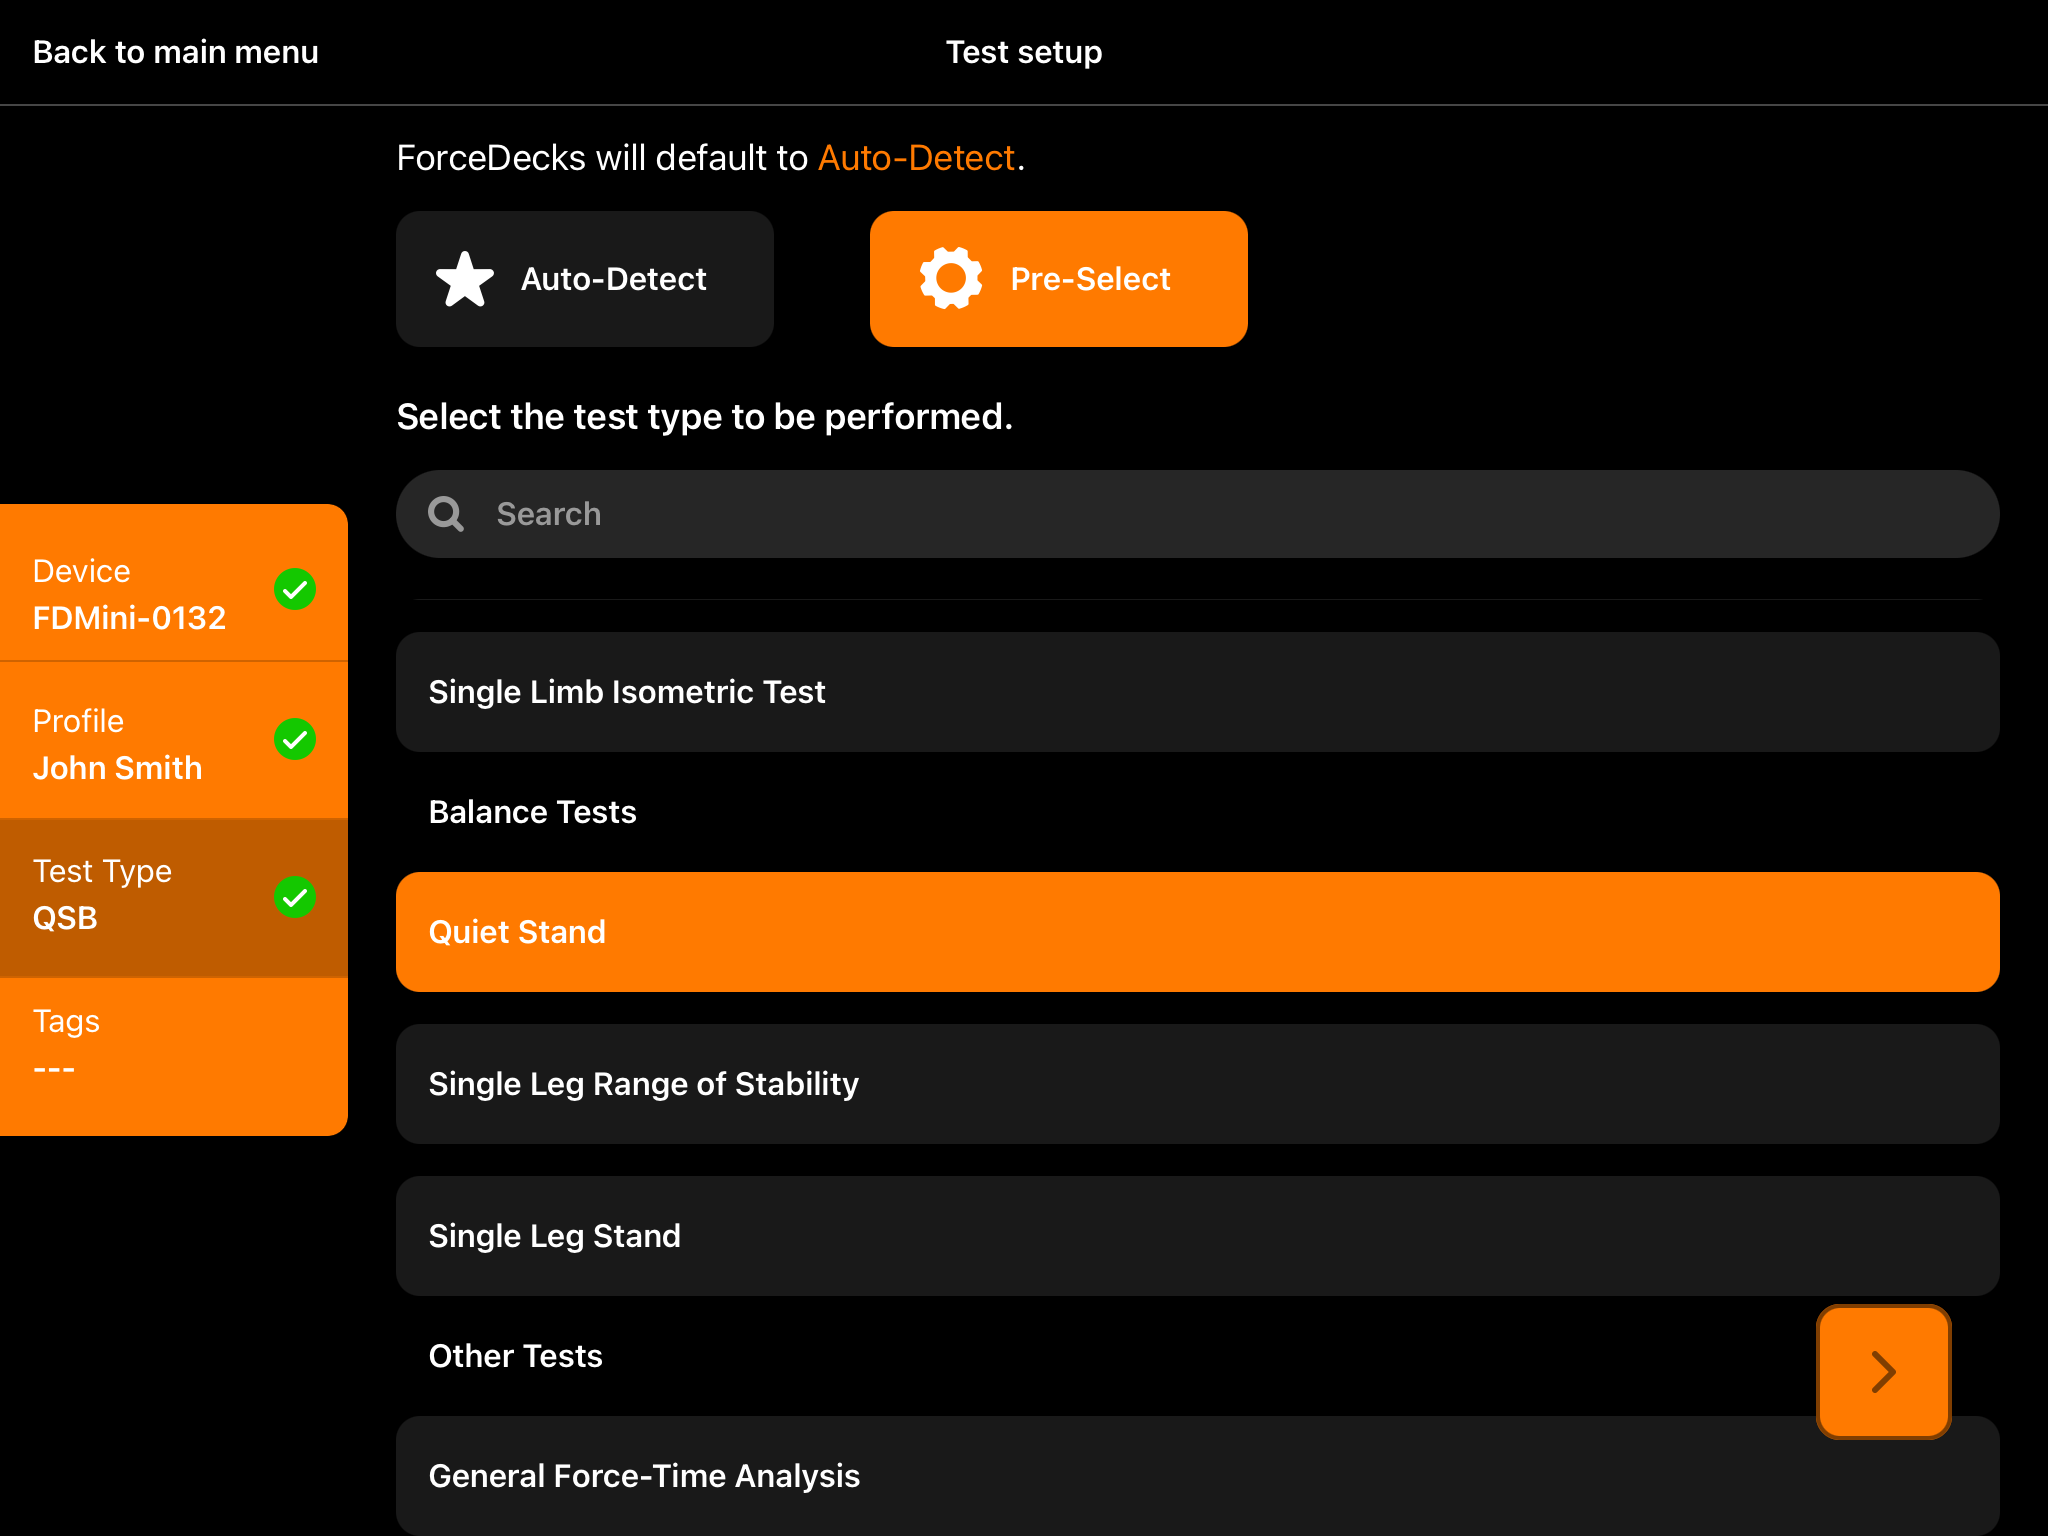
- Go to Test Type:
- Select Pre-Select
- Scroll down to Balance Tests
- Select the Test Type
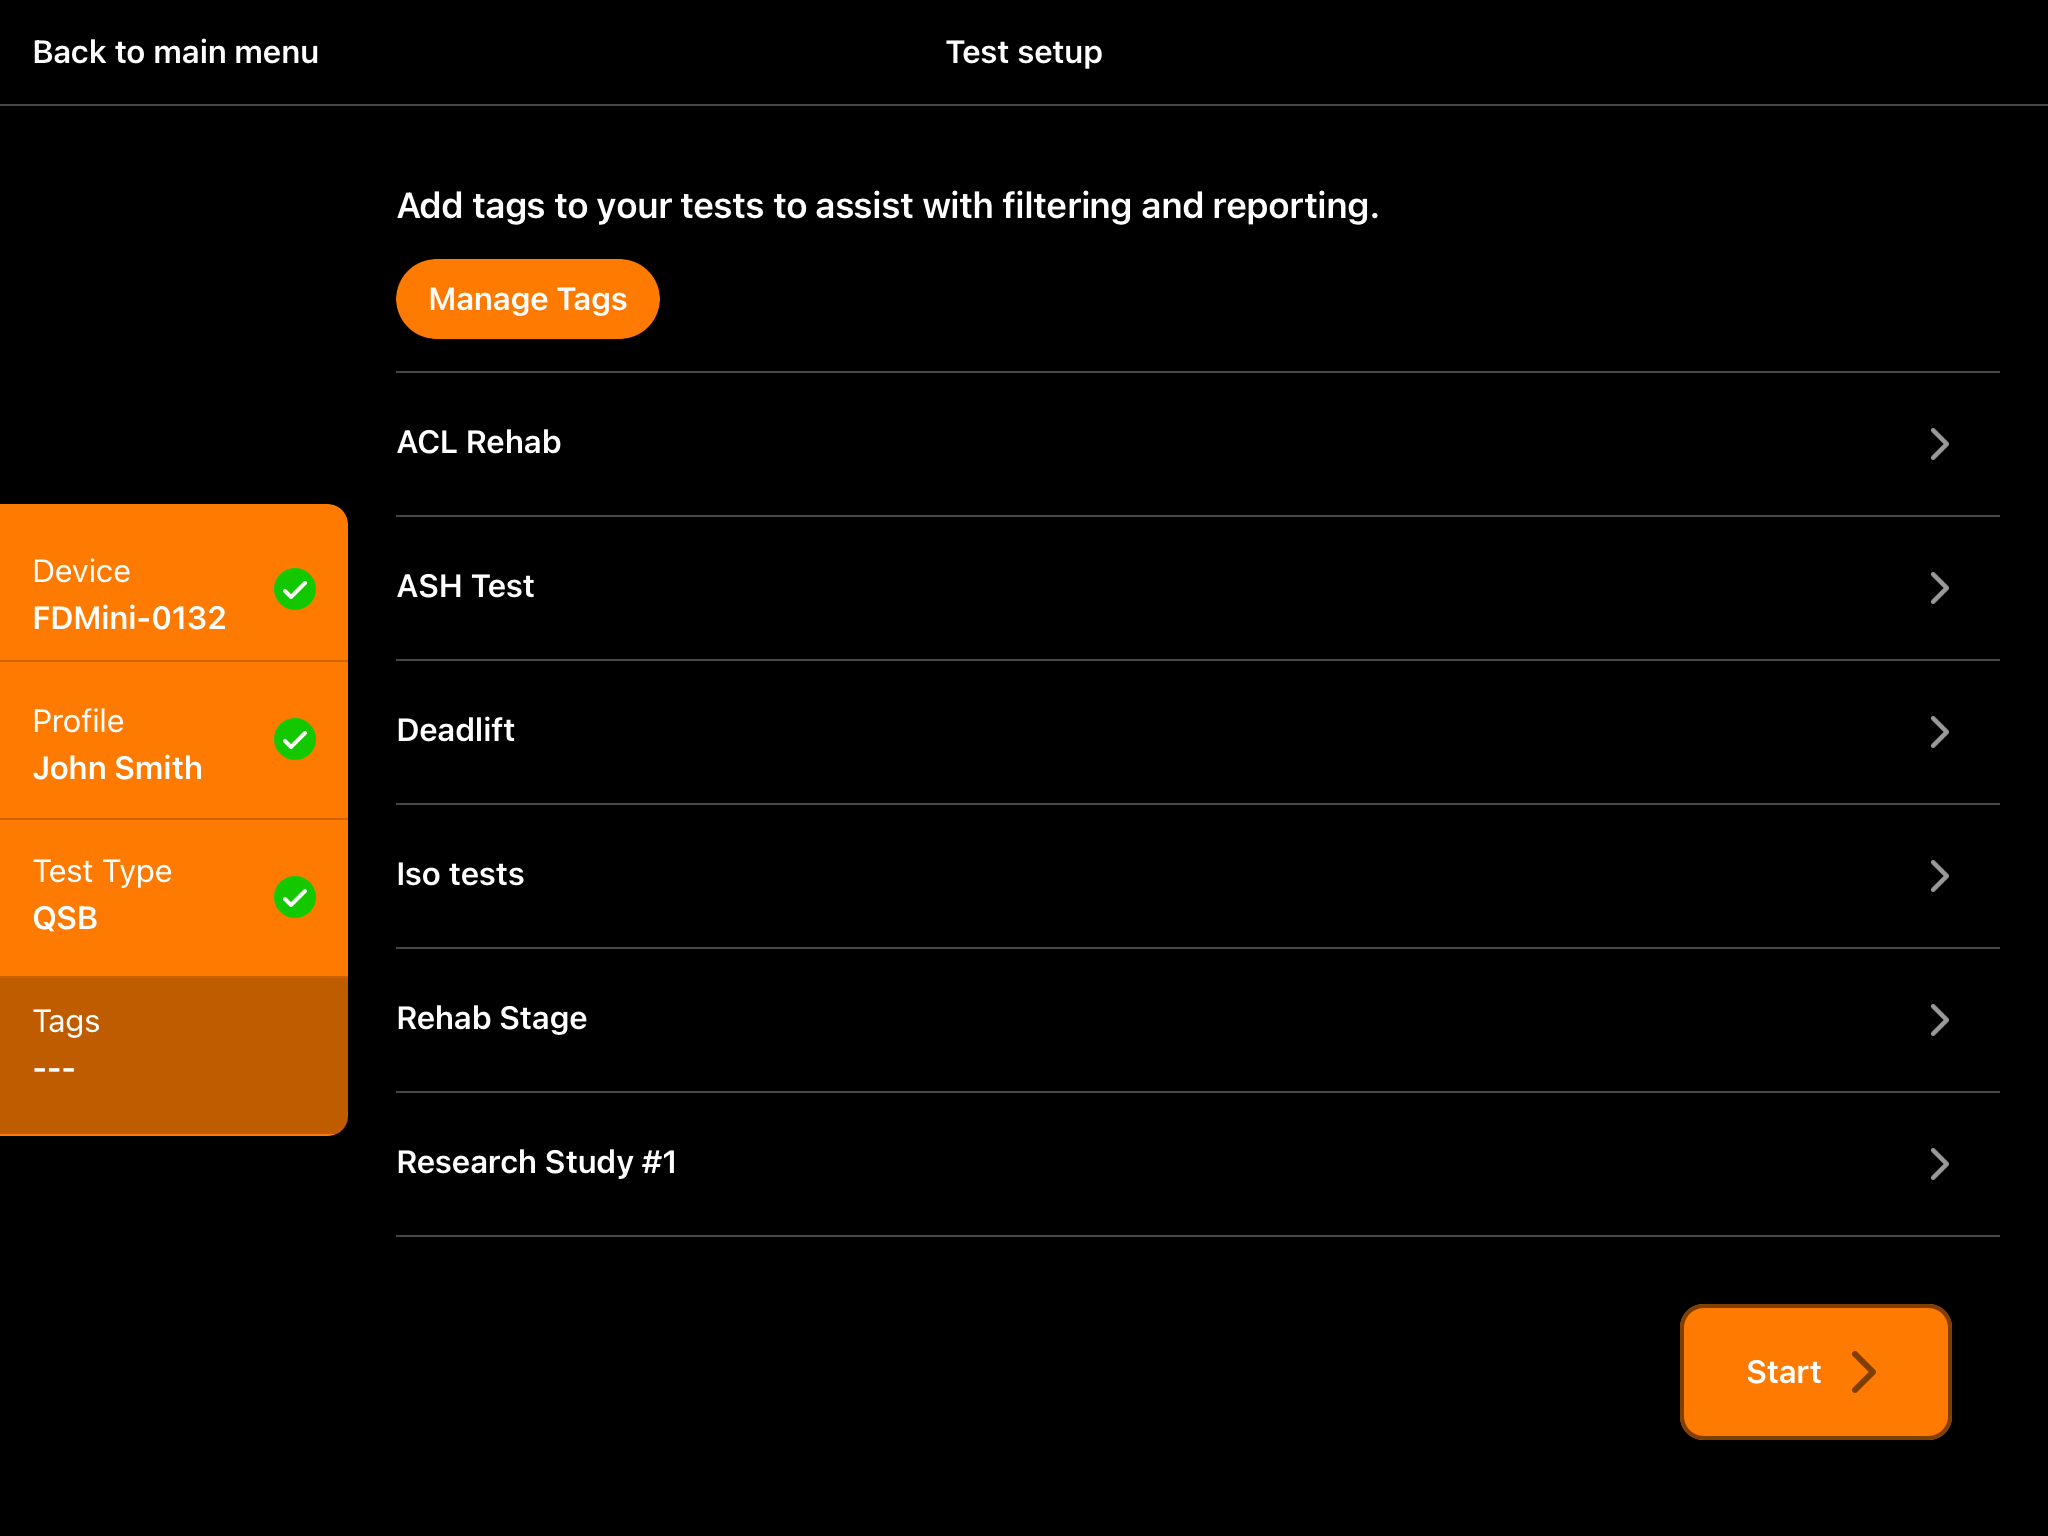
- Go to Tags
- Add or Manage Tags, as required.


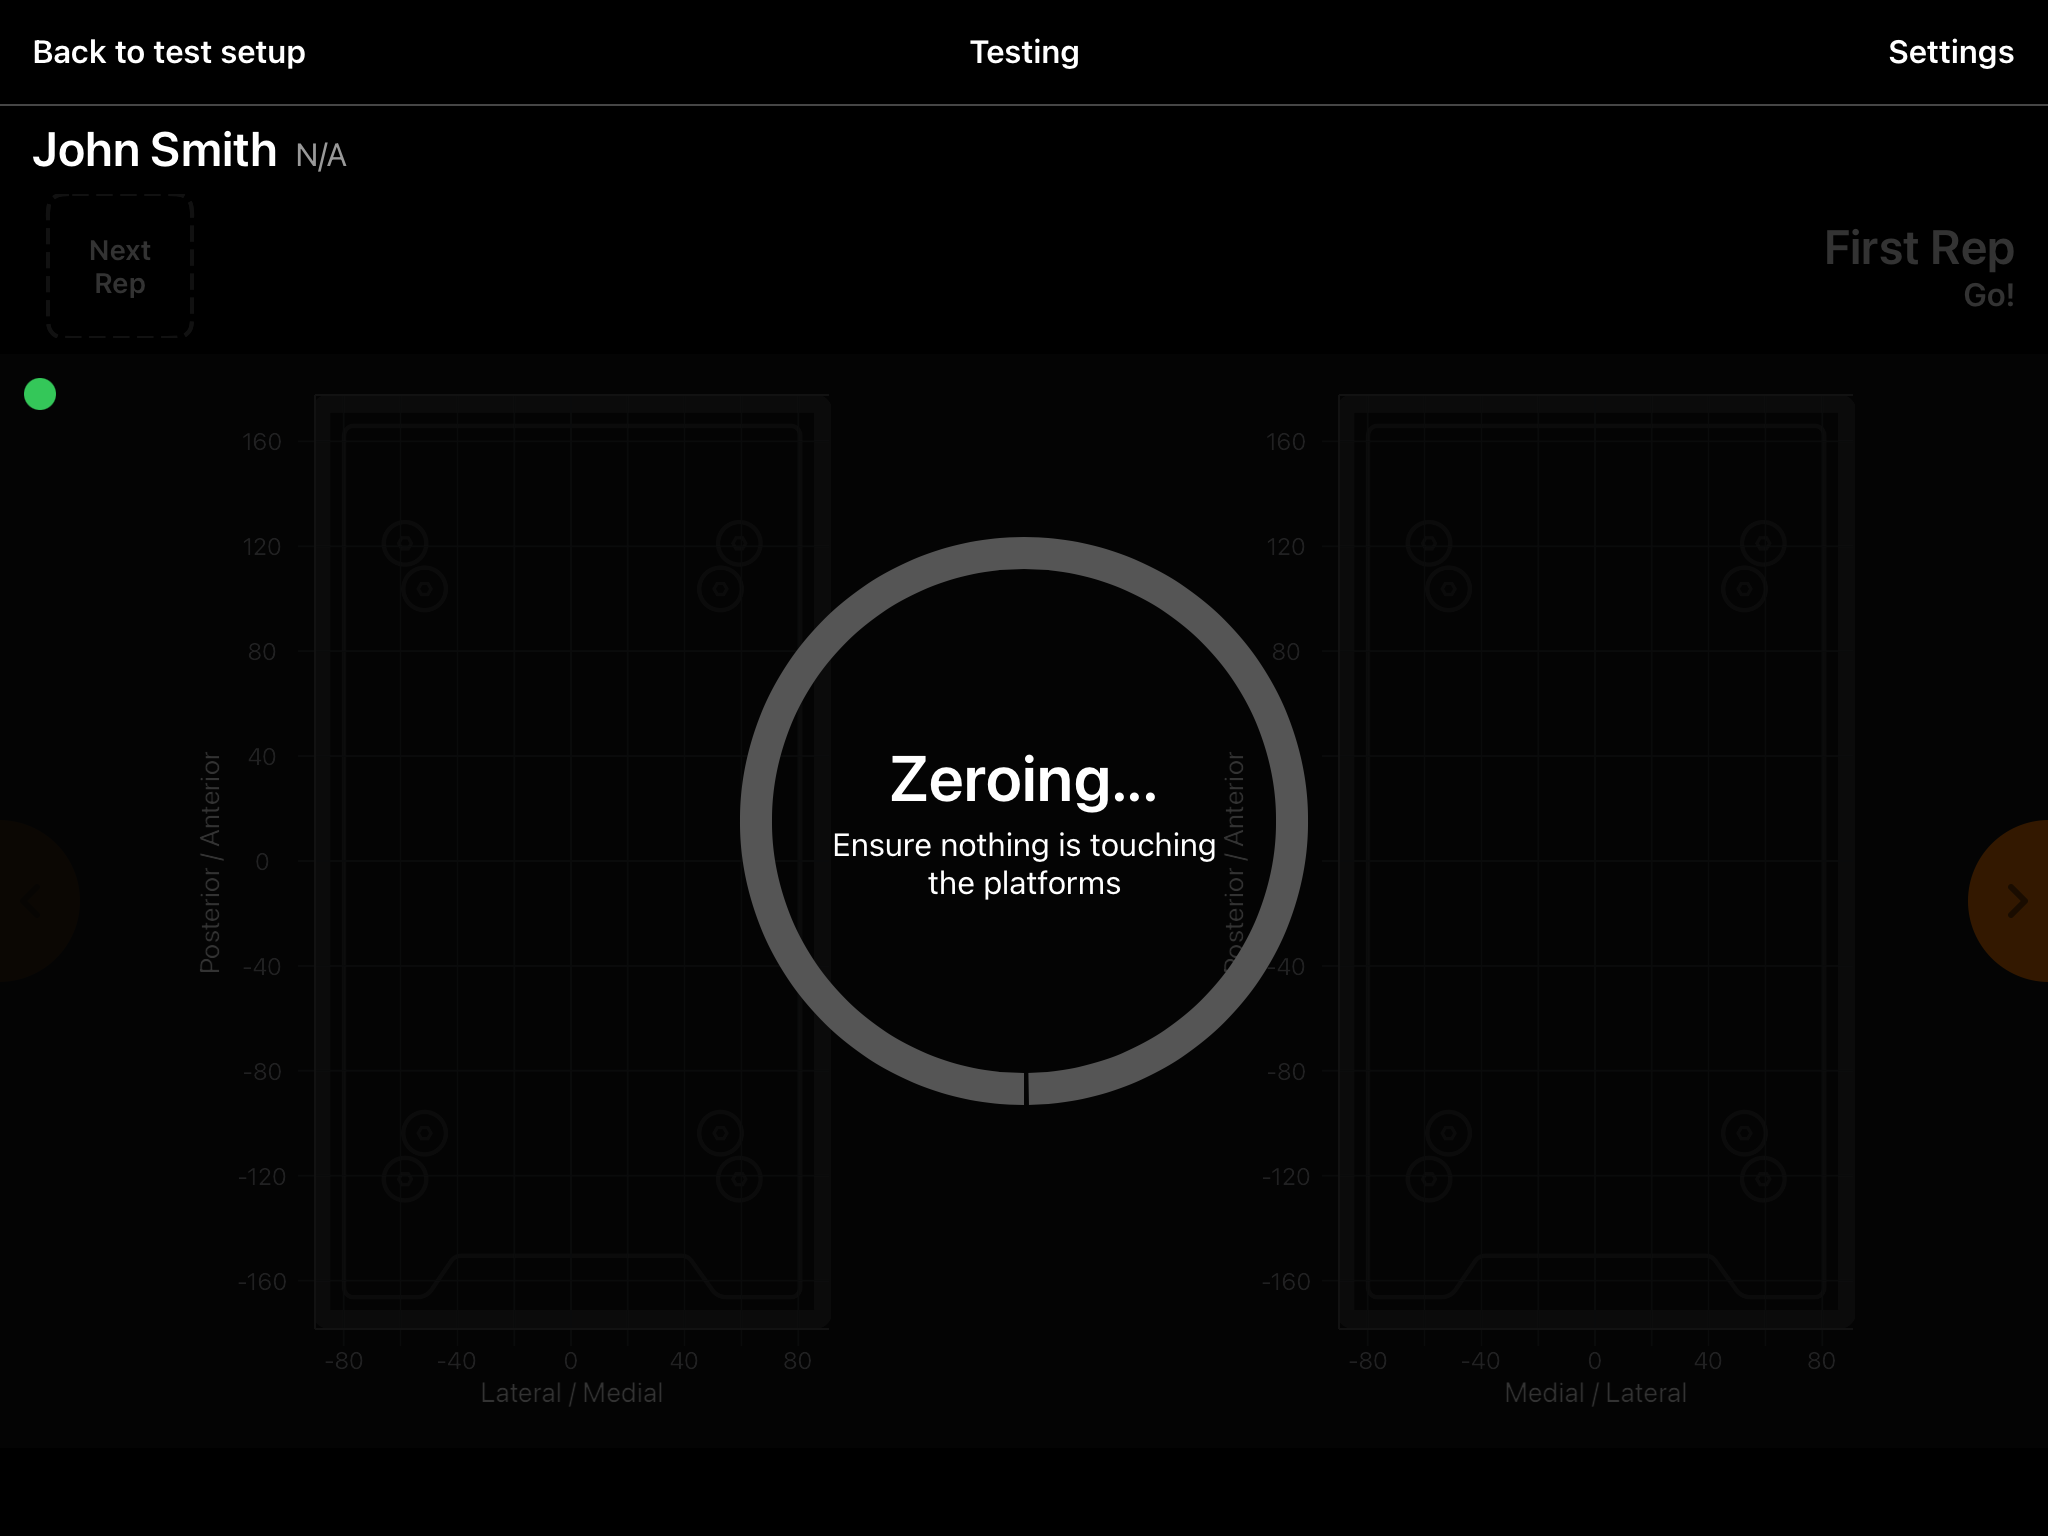
Step 2 – Zero Force Plates
- Ensure nothing is touching the ForceDecks plates.
- Click Start to zero the ForceDecks plates.

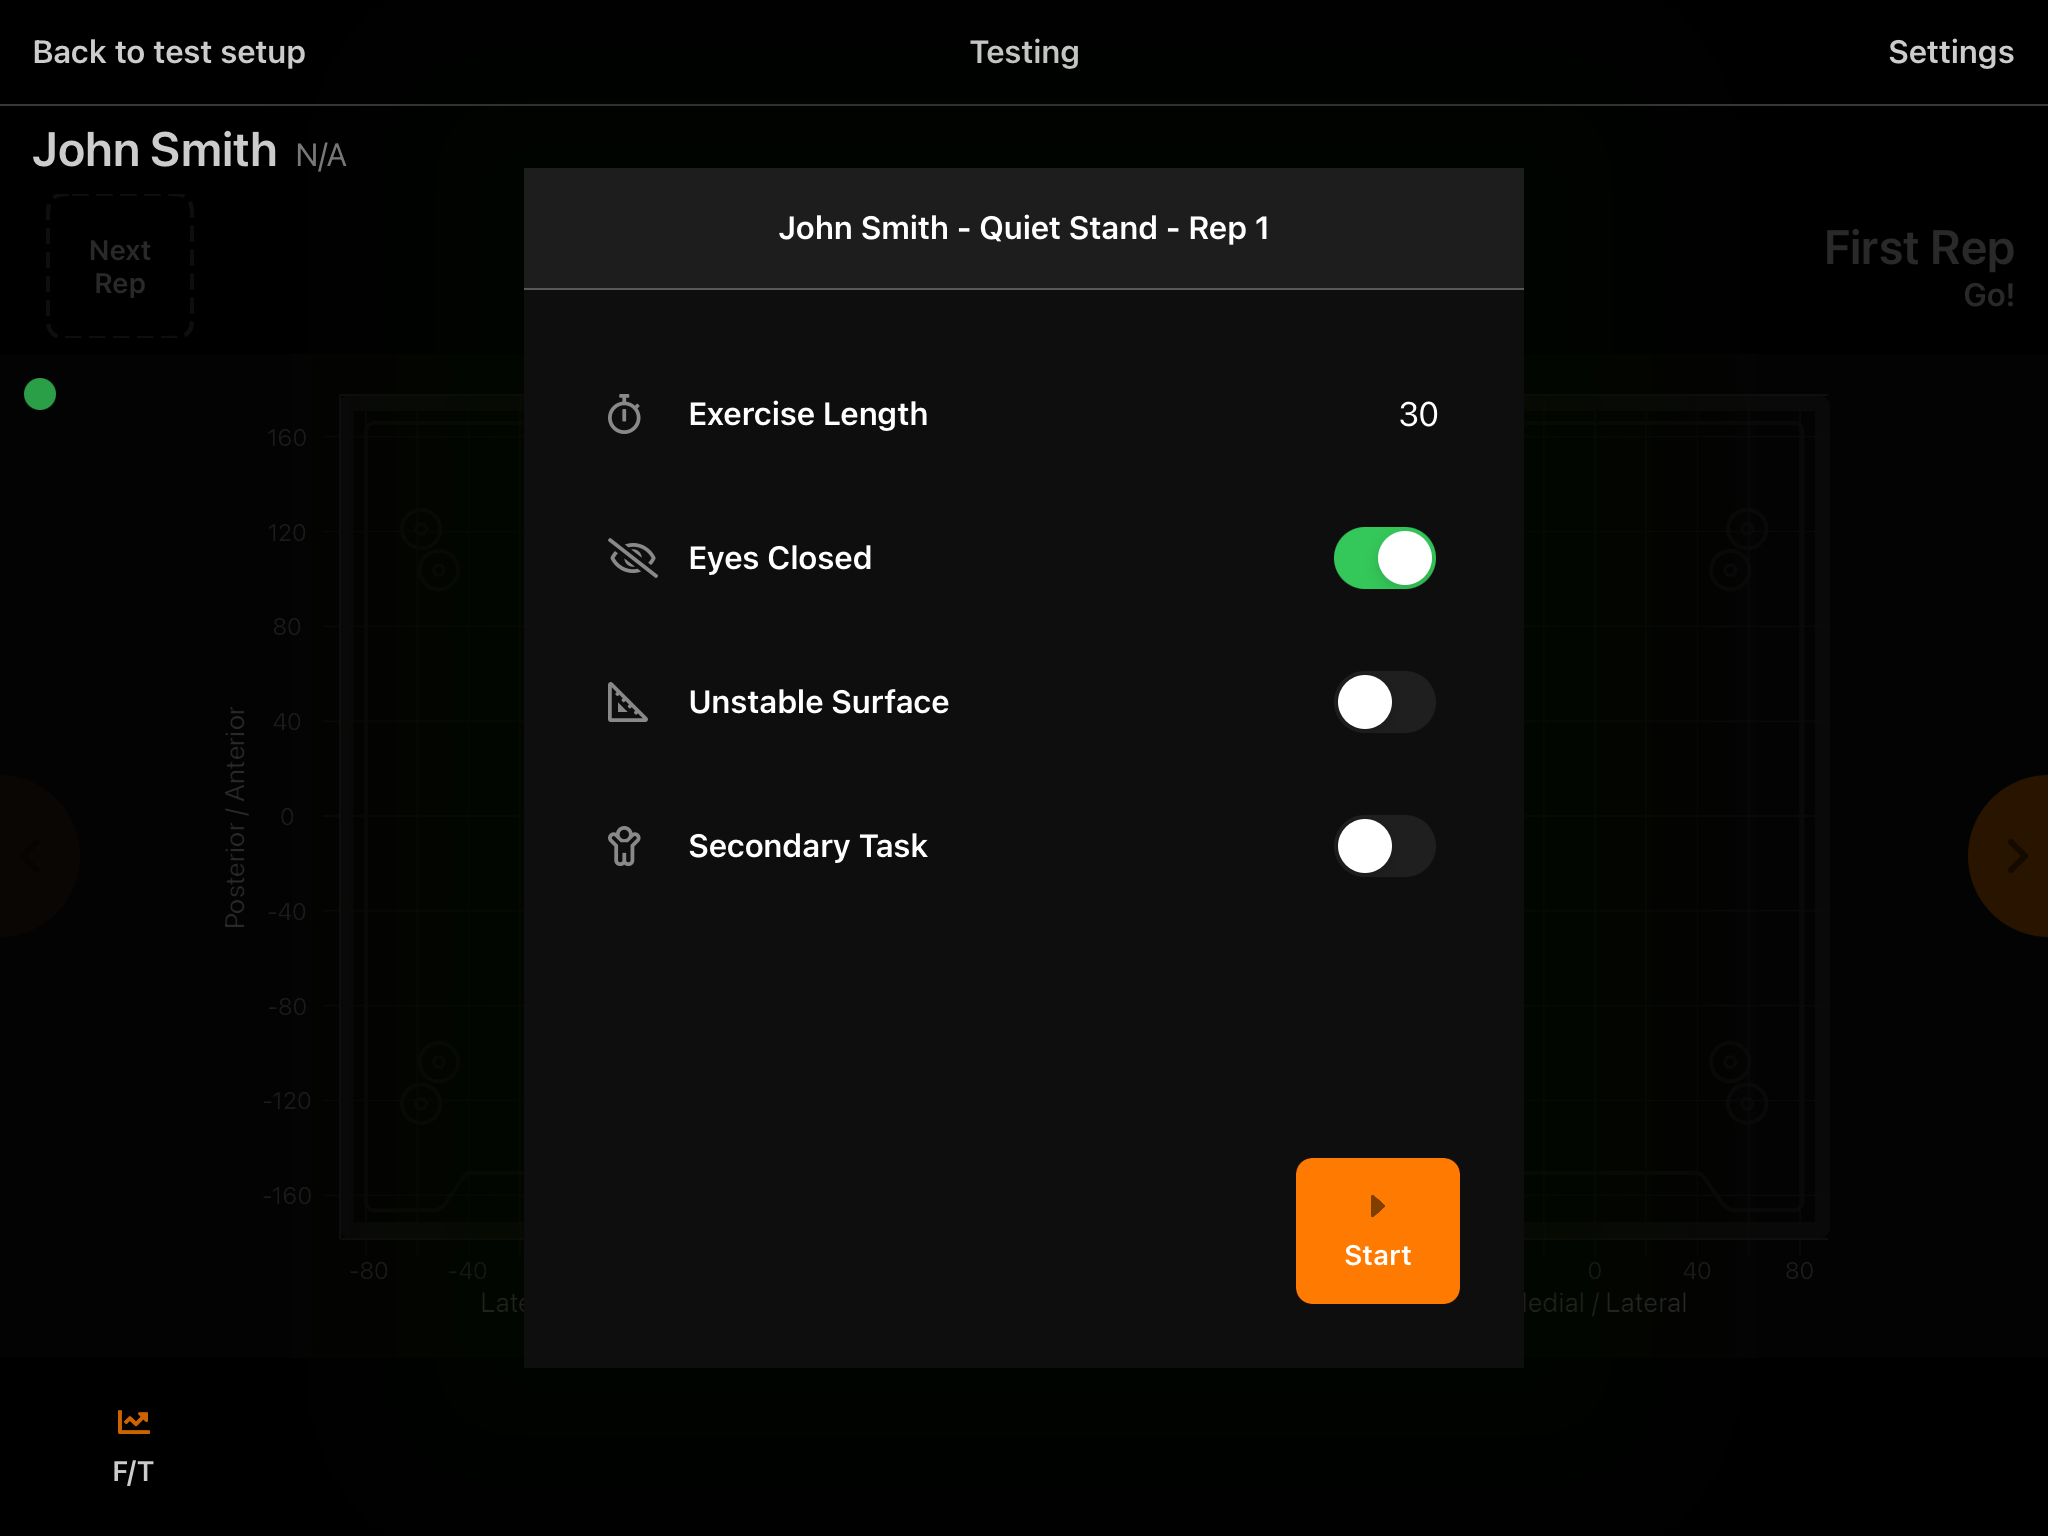
Step 3 – Select Test Options
- Specify the following options (as applicable):
- Exercise Length
- Eyes Closed
- Unstable Surface
- Secondary Task

Step 4 - Recording a Test
- Instruct the individual to perform the required balance protocol (refer to ForceDecks Test Protocols).
- A timer will automatically countdown to indicate the time remaining in the test.
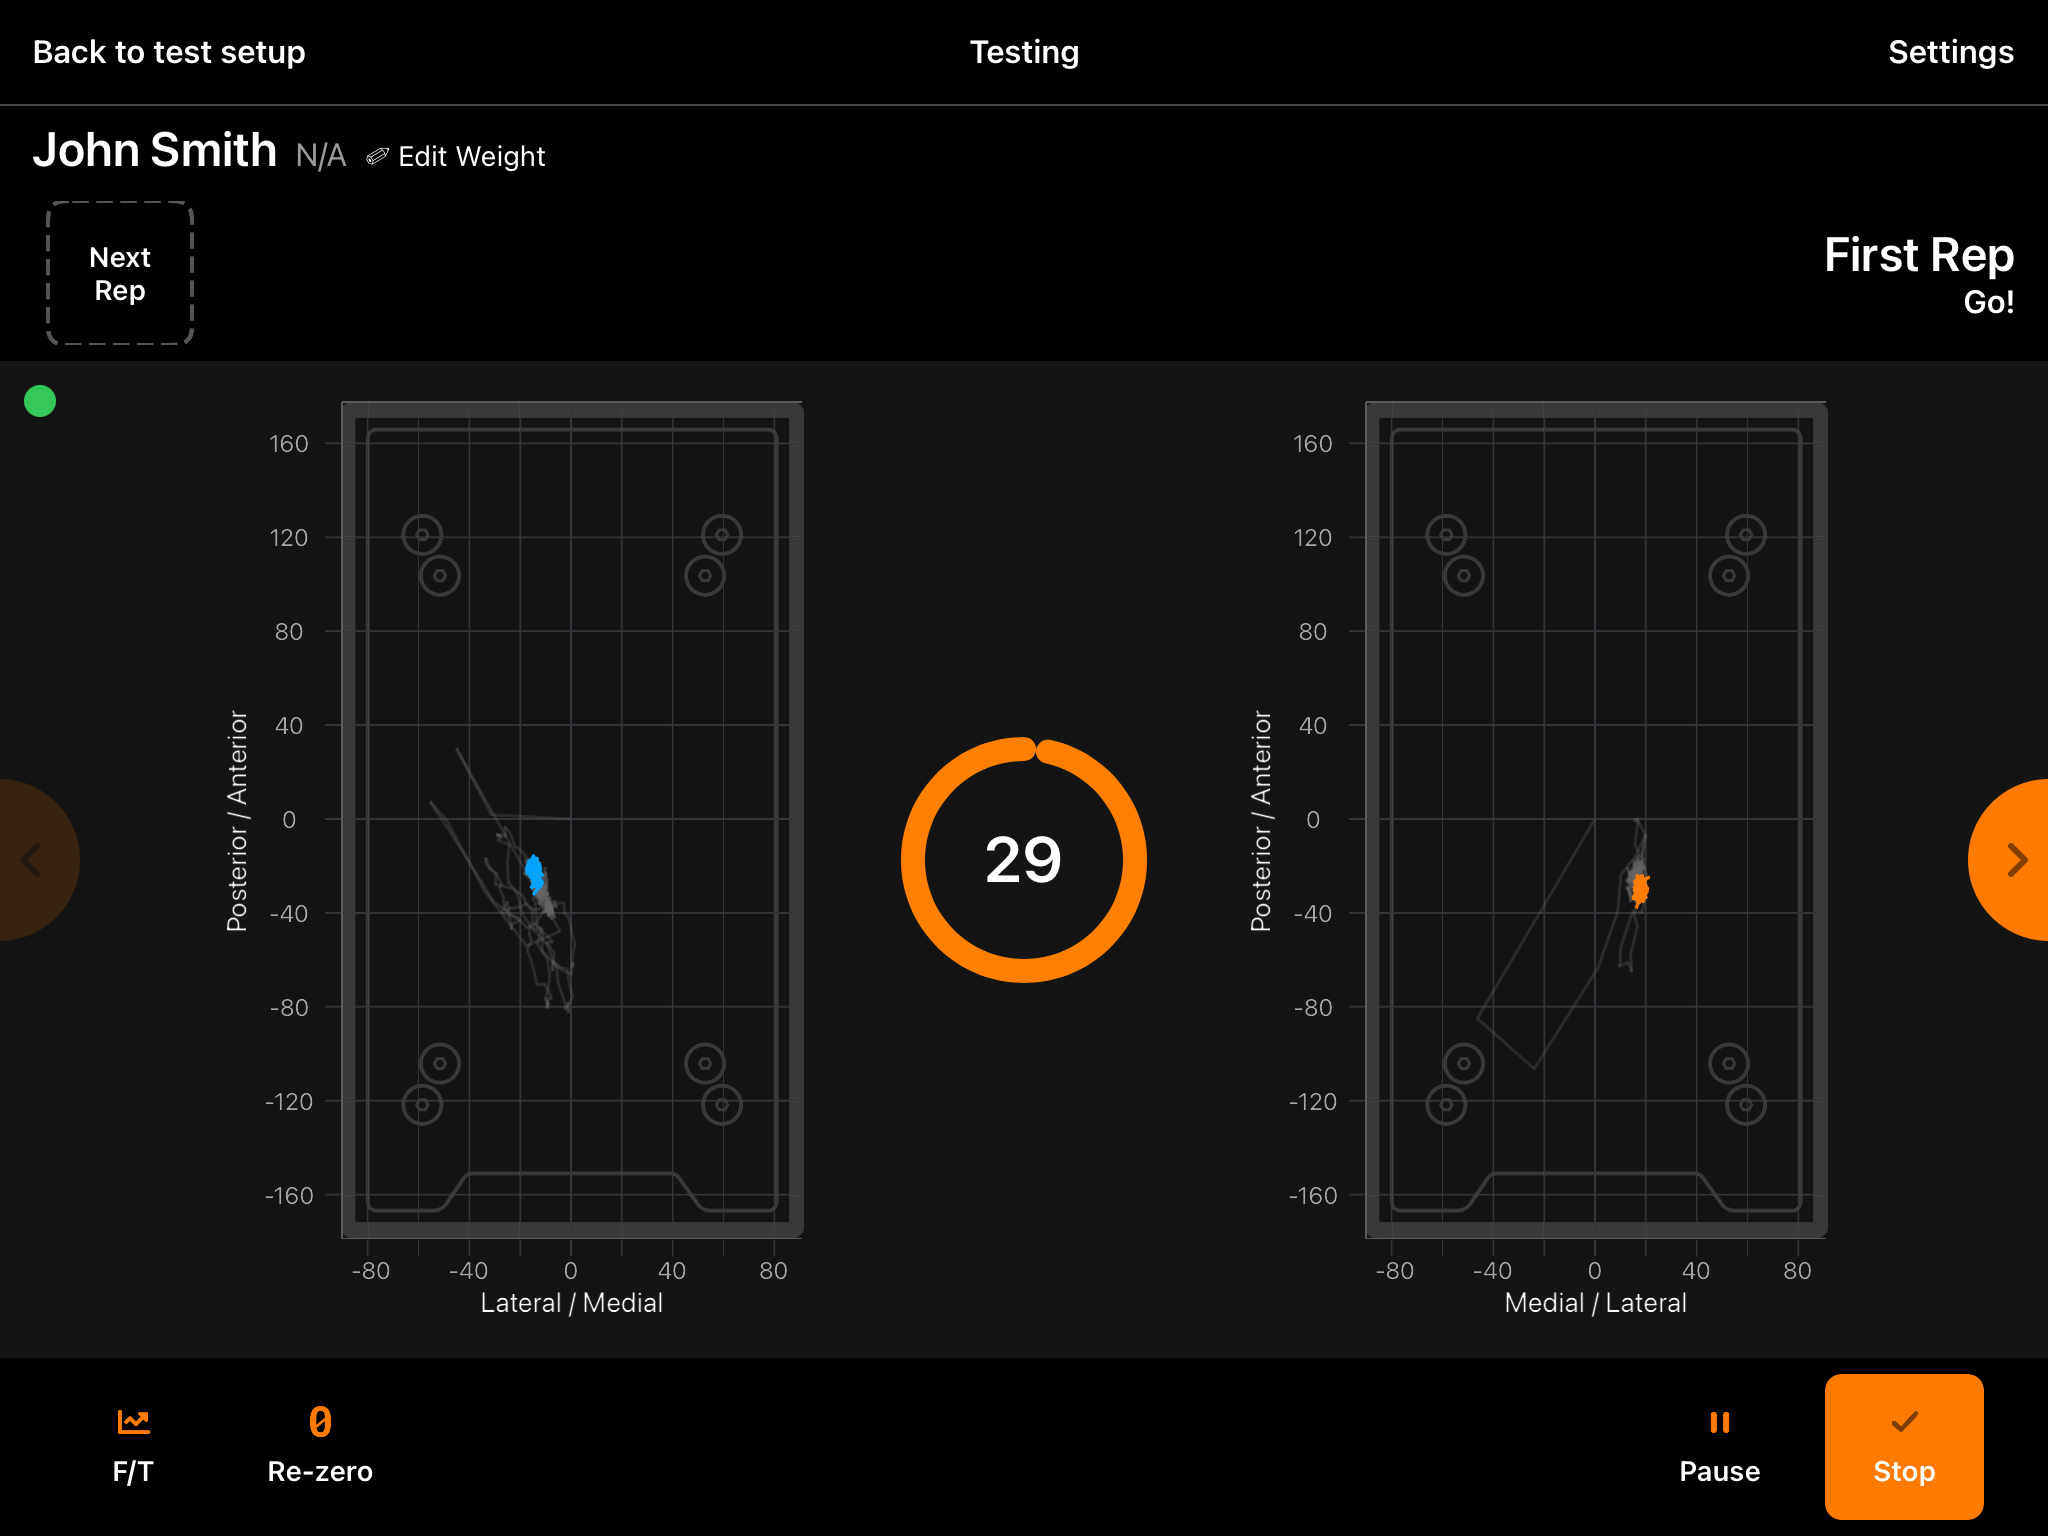
- Click the arrow to the right of the screen, to view result metrics.
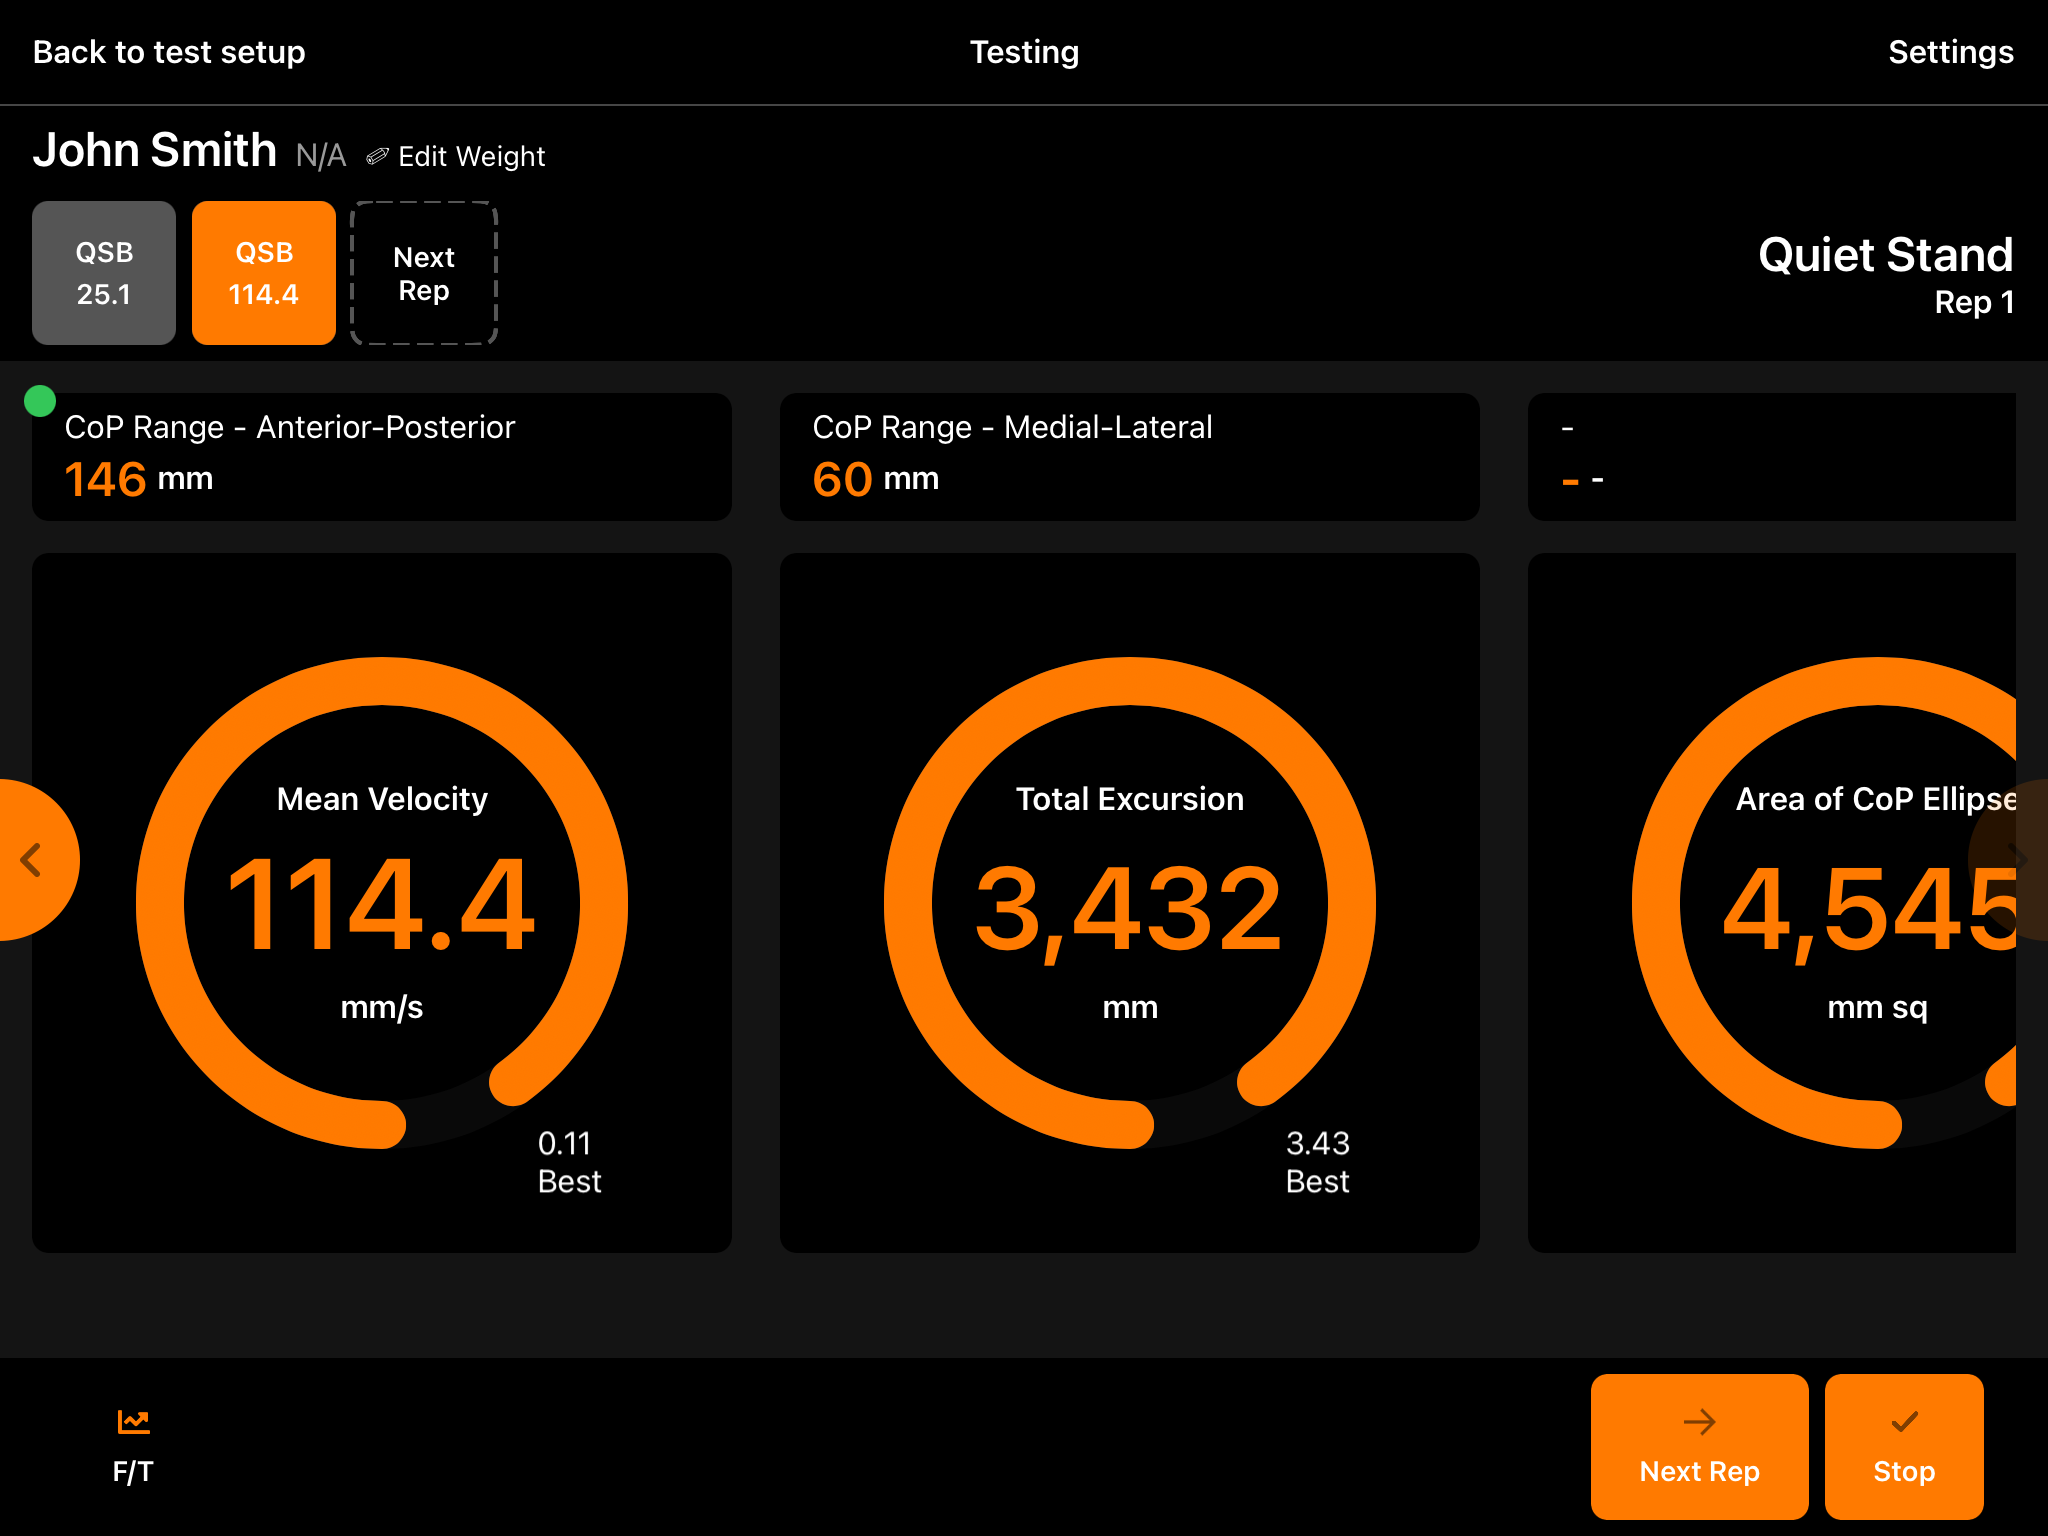
- Click Next Rep to perform an additional rep.
- Click Stop when testing is complete
- Click Upload to upload tests to VALD Hub and ForceDecks.


